

ESO Lep Seclusa Dungeon
Welcome to my Lep Seclusa Dungeon Guide for ESO! This Guide will show you how to defeat all Bosses inside the Dungeon and clear it with ease and efficiency. Lep Seclusa is a linear Dungeon with six Bosses, that you find as you progress deeper inside. There are no secrets to uncover or additional Bosses you can find. Lep Seclusa is available with the “Fallen Banners” content, along with Exiled Redoubt.
All Lep Seclusa Dungeon Bosses in ESO
There are six Bosses inside this Dungeon. You can find them all as you progress and you will have to defeat them to unlock new areas of the map. The Bosses are:
- Lewin Frey
- Garvin The Tracker
- Siege Master Malthoras
- Noriwen
- Flamedancer Ajim-Rei
- Orpheon the Tactician
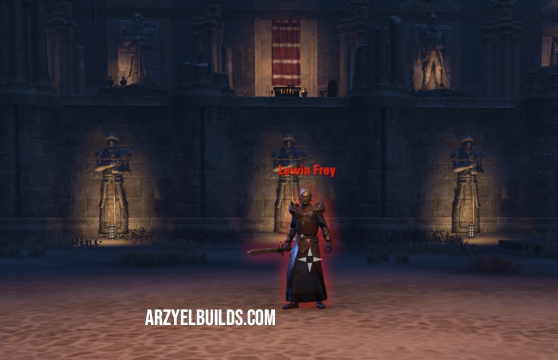
How to Defeat Lewin Frey Boss in Lep Seclusa
Lewin Frey is the first Boss of the Dungeon. A shock based warrior with a few interesting attacks. His main moves are:
- Light Attacks
- A channeled Attack that leaves a ring of Shock to his target. Avoid nearby players or they will take damage.
- A shock front conal attack.
- Charges an AOE around him and gains a Shock aura that deals damage to nearby players.
- Charges an AOE around him that deals Shock Damage. Get out of its radius to avoid being damaged.
- He streaks away and channels more rings of shock.
- He summons clones of him that charge Shock AOEs around them.
- Summons small Shock ground AOEs that move around, dealing damage.
How to Defeat Garvin the Tracker
Garvin the Tracker is the second Boss of the Dungeon! He summons more enemies during the fight and relies on Elemental and Status Effects damage! These are his main moves:
- Light Attacks.
- He charges an Attack that sends Poison ground AOEs on both sides. Do not stand in front of them to avoid damage.
- Applies a Poison DoT to a player.
- Charged Attack that sends forth Ground Earth AOEs. The Tank should face him away from the rest of the group.
- Charges another attack and sends forth a Noxious Boulder that deals damage and leaves behind a pool of Poison.
- Unleashes a massive Poison Cloud that you cannot interrupt.
- When his Health is at 80% he disappears into a corner and sets up traps. You can interrupt this move. He also summons a Shock Mage at this point. Kill the Mage fast because there are more minions coming.
- At around 65% Health he disappears again in a corner and also summons a Flame Archer.
- At 50% Health he disappears again and summons a Monstrous Duneripper.
- At around 35% Health he ports to a corner to lay down traps and summons a Deserter Infuser, that enrages him or other minions you have left alive.
- At around 20% Health he disappears for one more time.
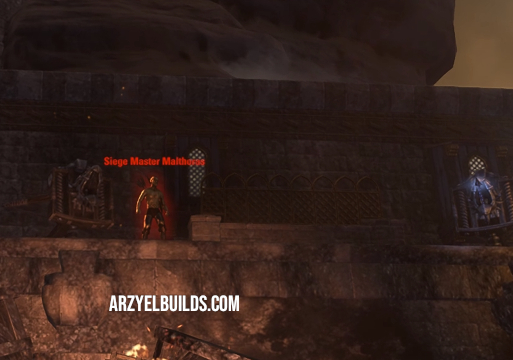
How to Defeat Siege Master Malthoras Boss in Lep Seclusa ESO
This is actually the only Boss you can skip in the Dungeon. Siege Master Malthoras is firing at your party with Siege Machines from higher ground. In order to fight him, you will need to use the Ballista Parts nearby, to repair and use broken Siege machines. With the repaired Ballista, destroy his Siege Weaponry and he will jump down on the ground, where you can fight him. His main moves are:
- Light Attacks.
- Front large Conal attack. The Tank should face him away from the group.
- Arrow Volleys on the ground. Just move away from their landing area to avoid damage.
- Targets a player and charges a Conal attack. Block to survive.
- Charges and unleashes a large Ground AOE, that deals damage and knocks back players.
- Throws a Fire bomb that leaves an AOE on the ground.
- Ports away and charges a Deadly Attack. Interrupt this to survive! His Bow will glow red.
- At 50% Health blows a horn and summons allies. Kill his minions fast to make the fight easier.
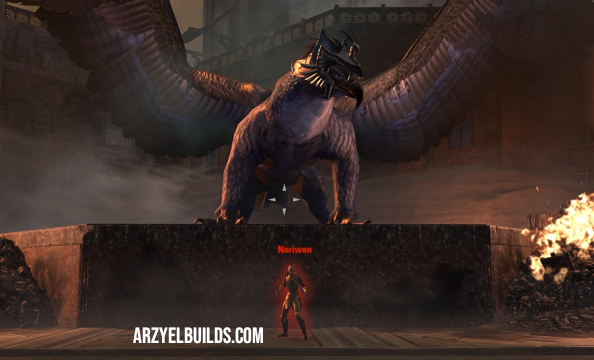
How to Defeat Noriwen Boss in ESO
Noriwen offers the first challenging fight in this Dungeon! She will summon her Gryphon to assist her in combat. These are their main moves:
- Light Attacks from Noriwen.
- Gryphon attacks with his Wings at the side areas of the arena, leaving behind Shock Tornadoes that run through the area dealing damage.
- Charged Fire attack from Noriwen that Stuns you.
- Front Conal Fire Attack.
- Noriwen dashes away and throws fire bombs at your location, that leave behind small AOEs. She then pulls you to her.
- Noriwen summons smaller Gryphons that rush through the area, damaging players.
- At 70% and 20% Health Noriwen will move in front of her Gryphon, pull you there and try to stun you. Her Gryphon will unleash a large AOE attack in front of them. Block the attack or get out of its radius.
- At 50% Health, Noriwen will leave the area and summon Flame Gryphons. Defeat them to force her back into the fight.
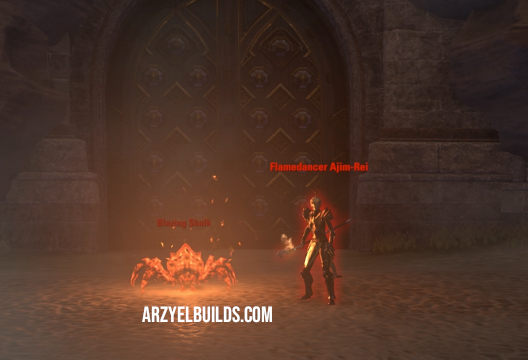
How to Defeat Flamedancer Ajim-Rei in Lep Seclusa ESO
Flamedancer Ajim-Rei is a Fire Mage, that also summons Shalks to attack you. These are her main moves:
- Light Fire Attacks.
- Her Shalk moves toward you, leaving Fire AOEs on the ground. She will keep summoning more.
- Charged Fire attack that knocks you down. Block this one.
- Fires three ground lines of fire in front of her. Tank should face her away from the group.
- She summons Spectral Fire Mages with various attacks. The first Mage attacks you with Fire projectiles. You cannot hurt him but you can interrupt him. The Second Mage targets a player and spews fire at him. Move around him to avoid damage or block to avoid hurting others in your party.
- Charges an attack and summons a fire ring underneath you. The ring explodes after a moment.
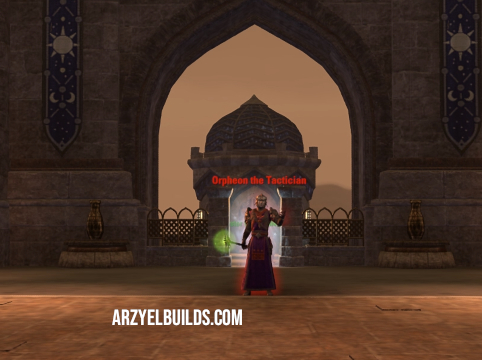
How to Defeat Orpheon the Tactician in Lep Seclusa ESO
Orpheon the Tactician is the Final Boss of the Lep Seclusa Dungeon in ESO! An Arcanist with a unique and interesting fight pattern. His main attacks are:
- Light Attacks.
- Front Conal Attack.
- Summons Tentacles that attack you when you get near them.
- He will block most of the area with a green AOE that moves and forces you to move along with it. Stay in the clear part of the area to continue fighting. Throughout the fight, tentacles attacking you from the blocked areas. Try to avoid them. Shock Tornadoes will also move around the area, dealing damage.
- He summons a Watcher over his head, that fires a Beam at you. Block this attack.
- At 80%, 50% and 30% Health he will move into the Blocked area, where you cannot follow him and summon minions to fight you. Defeat the minions to force him back to the fight. Noriwen’s Gryphon will also appear and attack you from the side. You cannot target the Gryphon. While this is happening, Orpheon will fire Arcanist projectiles at your party. Block or outheal them.
Armor Sets in Lep Seclusa Dungeon ESO
There are four Armor Sets you can farm inside this Dungeon. One of each weight and a Monster Set. The Lep Seclusa Sets are:
- Fledgling’s Nest, Light Armor Set
- Noxious Boulder, Medium Armor Set
- Heroic Unity, Heavy Armor Set
- Orpheon the Tactician, Monster Set Head(Final Boss, Veteran difficulty only)
Lep Seclusa is a fun and relatively easy Dungeon that you can clear with the right ESO Build!

Arzyel is a passionate Gamer and huge fan of the Elder Scrolls Series! A professional Content Creator and owner of the arzyelbuilds.com website that is focusing on The Elder Scrolls Online with the Best ESO Builds and Guides, as well as Throne and Liberty content with several TL Builds and Guides! Arzyel also publishes videos on his YouTube channel!
Thanks to his experience in Gaming and especially Online Gaming, Arzyel can create practical and effective Builds & Guides for ESO, Throne and Liberty and other titles, that are perfect for both New and Veteran Players! For more info you can check his Linktree and his About Me page.