

ESO Splindleclutch 2 Dungeon
The Spindleclutch 2 Dungeon in ESO, takes place in the same area with Splindleclutch 1 and introduces new interesting enemies! A slightly harder and more challenging dungeon than the first one with a few interesting mechanics. The Dungeon is available with the Base Game(no DLC required) and its entrance is on the Northern part of the Glenumbra zone! In total there are six Bosses in the Splindleclutch 2 Dungeon. This Splindleclutch 2 Dungeon Guide will focus on the Boss fights and their attack patterns.
Table of Contents
Armor Sets in Splindleclutch 2 Dungeon ESO
There are four Armor Sets you can get from enemies in the Dungeon, a Light, Medium, Heavy and a Monster Set. The armor Sets you can farm here are:
- Prayer Shawl, Light Armor Set
- Spelunker, Medium Armor Set
- Knightmare, Heavy Armor Set
- Bloodspawn, Monster Set(Final Boss, Veteran difficulty only)
Bosses in Splindleclutch 2 Dungeon ESO
You can find each Boss of the Dungeon by simply following the path inside. They are all quite easy to defeat but they do have a few interesting mechanics. Some of their hardest mechanics only appear in Veteran Difficulty.

Mad Mortine – Splindleclutch 2
The first and easiest Boss of the Dungeon. Mad Mortine is surrounded by a few Bloodfiends enemies that will not pose much of a threat. You can easily kill them with AOE skills, while hurting the Boss.
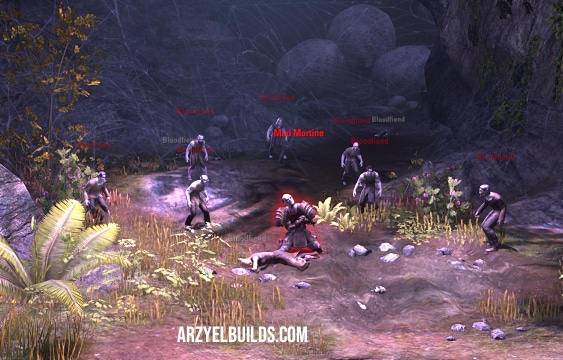
He is mostly Light Attacking whoever has aggro, usually the Tank. These attacks are not dangerous. He can do a Leap Attack that can deal a lot of damage. Make sure to Block this one. Finally he will also perform a front conal attack with multiple hits that again can deal significant damage. Since all of his attacks target the player with aggro(Tank logically), this fight is pretty easy to deal with as long as the Tank is holding aggro and blocks.
Bloodspawn – Splindleclutch 2
A big, scary Gargoyle that is not really that dangerous!
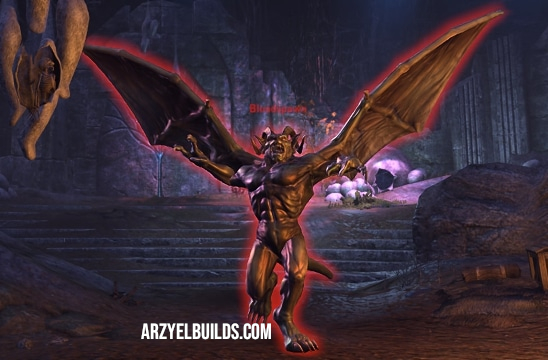
His Light Attacks are not dangerous but you must Block his Heavy Attack because it can deal significant damage and knock you back. Occasionally he will hit the ground, creating a large AOE that deals damage to the entire group. The Tank can Block this but the rest of the group should try to get out of its radius to avoid unnecessary damage.
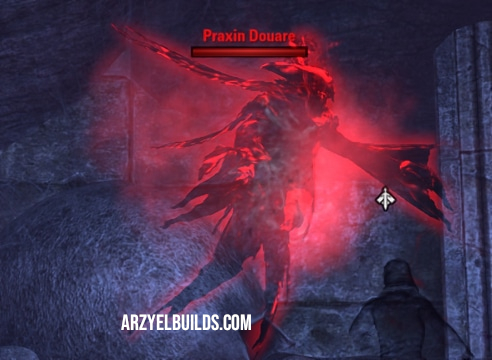
Praxin Douare – Splindleclutch 2
This is a Boss fight with a few phases. The Boss will remain inactive and spawn waves of enemies. You will have to defeat four waves before you can start dealing damage to the Boss itself. Every time you clear a wave of enemies, attack the Boss to spawn the next one.
Each wave represents the Boss encounters from the Splindlecluth 1 Dungeon. All waves are easy to deal with.
- Wave 1 – A Swarm of Spiders
- Wave 2 – Swarm Mother and adds
- Wave 3 – Big Rabbu, Cerise and adds
- Wave 4 – The Whisperer
When you defeat the last wave of enemies, the Boss will transform into a Wraith and you can start attacking him. His Light Attack is a simple shadow projectile that the Tank should have no problem with. Occasionally he will fire three ground AOEs that move forward and deal good damage. Try to avoid those or block. He will pick a player randomly and drain his Magicka and Stamina. This attack can be devastating if it targets the Tank or Healer. Use Heavy Attacks and Potions to replenish your stats when it happens.
Praxin also has an one-shot ability! During the fight he will pick randomly a player and a red ring will appear around them. The ring will start moving and the player inside it will need to move with it and stay inside! The other players should stay away from the ring and avoid touching it. If you fail to stay inside or outside and touch the ring, you will die instantly! Eventually the ring will disappear.
Flesh Atronach – Splindleclutch 2
An overall easy fight with a little trick! You must kill all three Atronachs at the same time!
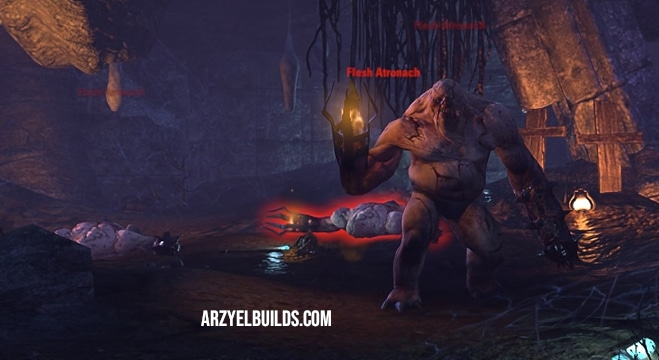
The best way to achieve this is to hold aggro as the tank while the rest of the group is dealing damage with AOE skills. They mostly Light Attack the player with aggro but can also Heavy Attack in a cone in front of them. Make sure to Block their Heavy Attacks. If you kill them separately, each dead Atronach heals the rest and boosts their damage. This is why it is better to kill them at the same time.
Urvan Veleth – Splindleclutch 2
A Vampire Knight with four Bodyguards that can heal throughout the fight! Kill his two ranged and two melee minions and focus on him to finish the fight fast! They can be dangerous since they can deal good damage and use Dragonknight Standard-like skills.
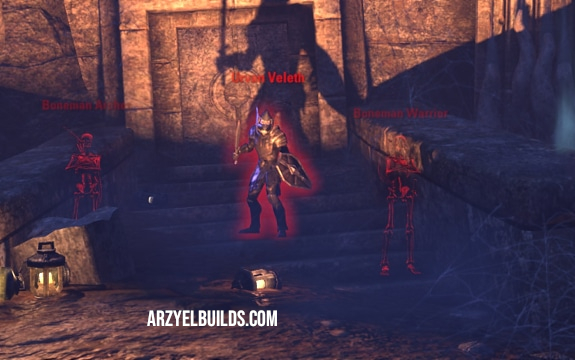
The Boss Light Attacks are not dangerous but you must block his Heavy Attack that comes in the form of a Bash. During the fight he will turn into a pool of Blood that follows a player and drains Health from whoever stands on it. Standing on the pool heals the Boss, so do not stand on it! After a while he will take his original form and you can attack him again. Companions standing on the pool will not heal him!
Vorenor Winterbourne – Splindleclutch 2
The Final Boss of the Dungeon! An agile enemy that can replenish his Health and deal significant damage!
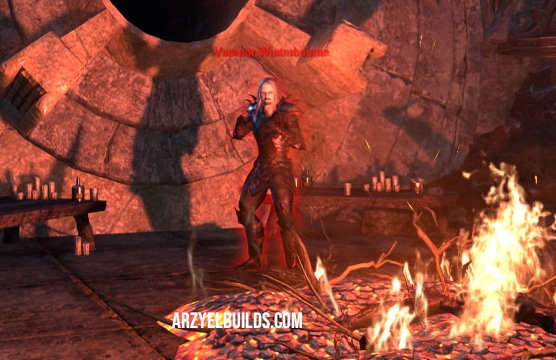
During the fight he will throw a ground AOE on a player randomly. The AOE is basically a Blood Pool that drains Health from players and heals the Boss. Avoid standing on those. Occasionally he will also drain Health from a random player. You cannot interrupt this but is not that dangerous.
Around the area there are sacrifices that the Boss can drain. He will drain Health from them and replenish his own. You cannot interrupt this unless you kill the Sacrifices. You should not kill them though if you are interested in the Hardmode of this Dungeon.
His strongest attack is a teleport ability that allows him to strike all four party members. This attack can deal significant damage so make sure to block! When he raises his hand, he is about to start teleporting around.
How to activate Splindleclutch 2 Veteran Hard Mode – Vorenor Winterbourne Boss Fight
If Splindleclutch 2 is one of your Daily Undaunted Pledges, you might want to earn more Undaunted Keys by completing it in Veteran Hardmode difficulty. Unlike most other Dungeons, there is no Scroll of Glorious Battle in here.
So in order to activate and complete the Veteran Hard Mode difficulty in Splindleclutch 2, you should simply not kill the Sacrifices while fighting the Final Boss, Vorenor Winterbourne! Keep attacking and fighting normally without focusing or killing the poor victims. To avoid accidentally killing them, the Tank should aggro the Boss away from them and fight him there.

Arzyel is a passionate Gamer and huge fan of the Elder Scrolls Series! A professional Content Creator and owner of the arzyelbuilds.com website that is focusing on The Elder Scrolls Online with the Best ESO Builds and Guides, as well as Throne and Liberty content with several TL Builds and Guides! Arzyel also publishes videos on his YouTube channel!
Thanks to his experience in Gaming and especially Online Gaming, Arzyel can create practical and effective Builds & Guides for ESO, Throne and Liberty and other titles, that are perfect for both New and Veteran Players! For more info you can check his Linktree and his About Me page.