

Valley of Slaughter Dungeon Guide
Best Valley of Slaughter Dungeon Guide for Throne and Liberty! This guide will show you everything you need to know to defeat the Dungeon’s Bosses and complete it successfully.

What is Valley of Slaughter in Throne and Liberty?
Valley of Slaughter is a Level 50 Dungeon, that offers great rewards to players. This Dungeon is a harder version of the Butcher’s Canyon Level 50 Dungeon with slightly different Boss mechanics. To enter the Dungeon you need a minimum Combat Power of 2500.
Valley of Slaughter Dungeon Bosses
There are three Bosses inside the Dungeon, Turka the Final Boss and two more mini bosses. The Valley of Slaughter Dungeon Bosses are:
- Turka
- Orc Shadow Elder
- Orc Shadowmancer
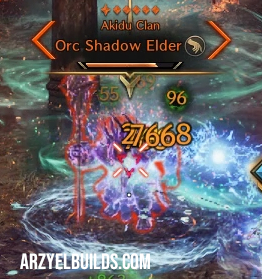
How to Defeat Orc Shadow Elder Boss
The Orc Shadow Elder is the first Boss of the Dungeon and quite similar to the Butcher’s Canyon version. It performs the following attacks:
- Fire projectiles against the player with aggro.
- Summons allies to assist her in combat.
- Summons Orc Shadowmancers. The Shadowmancers will shield the Boss and prevent damage. Crowd Control(Stun, Silence, Freeze, Sleep) the Shadowmancers to stop the shield and kill them fast.

How to Defeat Orc Shadowmancer Boss
This is an easy Boss fight, as long as you know what to do! Kill all enemies nearby then focus on the Tethered Shadowmancers. Your team needs to Stun(or hard CC) all Shadowmancers at the same time and focus on killing them one by one. You can only deal damage to them when they are stunned or CCed in general. Kill them and move on to fight Turka, the final Boss!
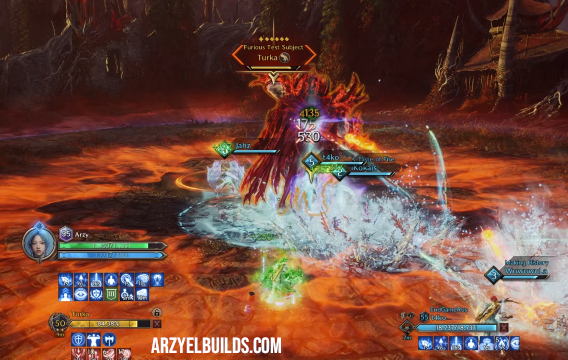
How to Defeat Turka Valley of Slaughter Dungeon Boss in Throne and Liberty
Turka is the final Boss of the Dungeon and offers a challenging fight! Like with Duke Magna at the end of Butcher’s Canyon Dungeon, Turka is an intense fight with several mechanics happening rapidly. So players need to stay focused and react fast. These are his main attacks:
- Normal attacks to whoever has aggro.
- Wide AOE Fury attack that you can block(purple circle closing).
- Wide AOE Wrath attack that you can dodge(purple square closing, tap movement key and Block key together to dodge this attack, cannot block it stationary).
- Turka will raise his weapon and will slam it on the ground, unleashing an AOE ground attack in a line towards the player with aggro. Avoid standing behind the tank to not take damage.
- He will absorb power and unleash an unavoidable wide AOE.
- Performs a fire AOE that you have to jump to avoid! A wide area AOE will close on him, then he will unleash it to deal damage. When you see the AOE closing on the Boss, jump to avoid it.
- Summons Meteors to strike random players that are marked with a ground AOE. Move out of the AOE to avoid damage.
- Pulls players to him and summons a Sheep. After a while Turka will jump in the middle of the area and deal massive AOE damage that will wipe the party. Kill the Sheep fast and interact with the item it leaves behind to get a Shield and survive the attack. After his jump, Turka will be vulnerable for a few seconds. He will repeat this mechanic with more Sheep. Focus on one to get the Shield and survive.
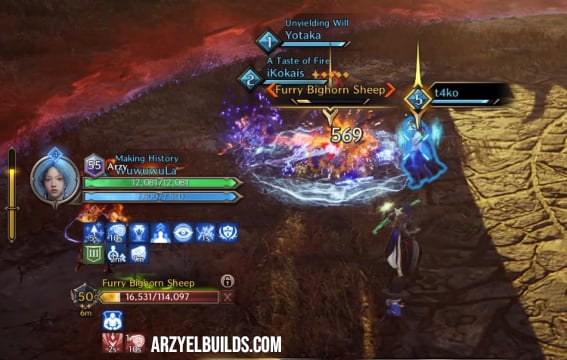
An intense Dungeon with several mechanics to keep you on your toes! For the Best Builds you can use to clear this Dungeon and prepare for the rest, you can take a look at my Throne and Liberty Builds!

Arzyel is a passionate Gamer and huge fan of the Elder Scrolls Series! A professional Content Creator and owner of the arzyelbuilds.com website that is focusing on The Elder Scrolls Online with the Best ESO Builds and Guides, as well as Soulframe and Throne and Liberty content with several Builds and Guides! Arzyel also publishes videos on his YouTube channel and streams on Twitch!
Thanks to his experience in Gaming and especially Online Gaming, Arzyel can create practical and effective Builds & Guides for ESO, Soulframe, Throne and Liberty and other titles, that are perfect for both New and Veteran Players! For more info you can check his Linktree and his About Me page.