

Throne and Liberty Taedal’s Tower
Welcome to my Taedal’s Tower Guide for Throne and Liberty! This Guide will show you everything you need to know about this Solo Dungeon in the game. What enemies you will encounter in each floor and how to defeat them.
What is Taedal’s Tower in Throne and Liberty?
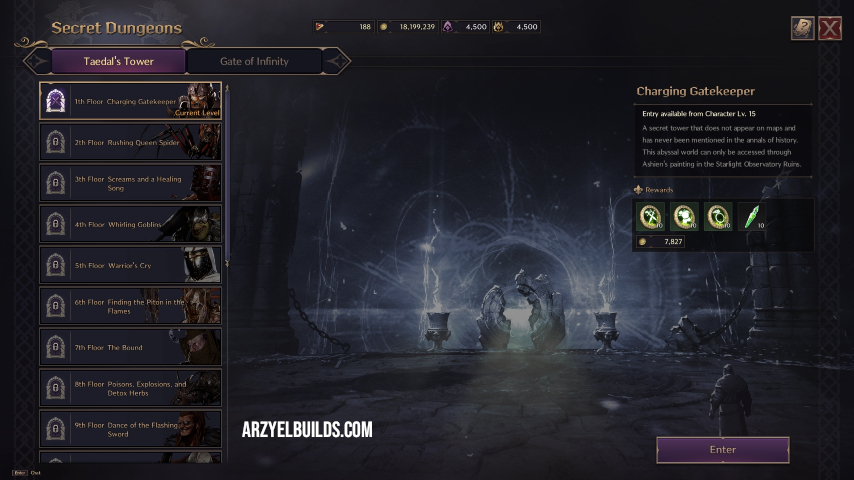
Taedal’s Tower is a Solo Dungeon in Throne and Liberty with multiple floors. The goal of the Tower is to teach new players basic Boss mechanics and test their reflexes. Each floor unlocks when you reach a certain level and offers a variety of rewards.
How to Enter Taedal’s Tower in Throne and Liberty?
To unlock the Tower, you must first advance the game’s main story line and complete the “Codex Chapter 3: Veterans Never Die“. This will unlock the Tower’s physical entrance at the Starlight Observatory Ruins(which is a painting). Every time you wish to try your luck inside the Tower you can travel there and interact with the painting to enter. Alternatively you can access the Tower from your “Secret Dungeons” Tab in your options from anywhere in the world.
How Many Floors there are in Taedal’s Tower?
There are Twenty(20) Floors inside Taedal’s Tower, that unlock gradually as you level up. The first floor unlocks when you reach level fifteen(15). As your level up and progress inside the Tower, Floors are getting more difficult with more complex mechanics. Higher Floors are also part of the Gate of Infinity challenges in Throne and Liberty! So practicing those floors inside Taedal’s Tower will prepare you for Gate of Infinity and let you earn its valuable rewards easily.
Floor 1 – Charging Gatekeeper
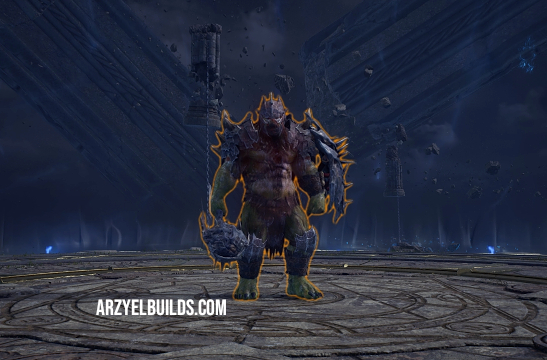
The first Floor unlocks at level 15 and pits you against the Chief Orc Gatekeeper. A relatively easy enemy with a few basic attacks:
- Charge. The Boss will charge at you and stun you. Dodge his charge to avoid damage.
- Pull. Occasionally he will try to pull you to him. Block this move to avoid being pulled.
- Slam. He will slam the ground and send forth a ground attack. Move out of the attack’s direction to avoid being damaged.
Floor 2 – Rushing Queen Spider
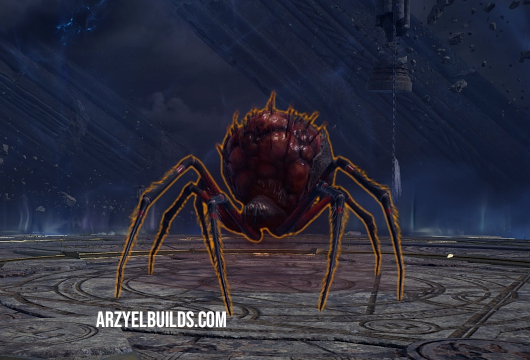
This Floor unlocks when you reach Level 19. This time you will have to fight the Venomous Queen Spider. These are her moves:
- Spits web that leaves a ground AOE, damages you and slows you down.
- She will leap at your location and damage you.
- Charge at you and attack with her front legs.
- She will spray you and slow you down.
All her attacks are easy to avoid by blocking or moving out of their direction.
Floor 3 – Screams and a Healing Song
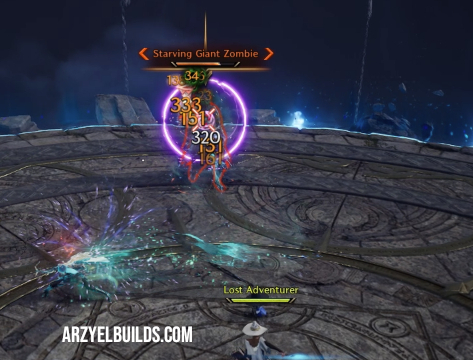
This Floor unlocks at level 23 and is slightly different than the other two. Your goal here is to keep the Lost Adventurer alive because it offers valuable heals and protection. Zombies will start spawning and try to get closer. If they get closer, they explode and deal massive damage. Try to kill them as fast as possible. After a few moments a Starving Giant Zombie will appear, which is the main enemy of this floor. His attacks consist of the following:
- Fires a projectile which is his main basic attack.
- Charges an attack and fires a deadlier projectile. Block this attack to survive.
- Sends forth a ground attack toward you.
- Lost Adventurer heals you during the fight and can protect you from heavier attacks.
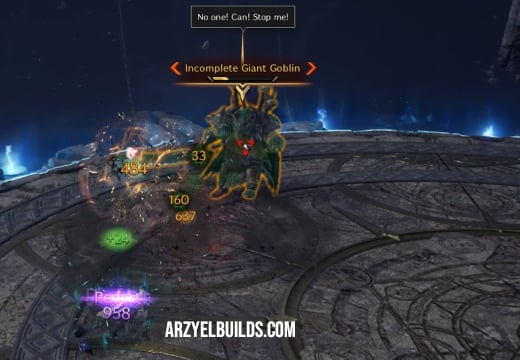
Floor 4 – Whirling Goblins
This floor unlocks at level 27 and pits you against the Incomplete Giant Goblin. These are his attacks:
- This Boss pulls you to him and attacks you with his weapon.
- Leaps at you and deals damage. Easy to Block.
- Does a stronger swing attack that stuns you.
- Glows red and pushes you back.
- Spins around and deals strong damage. Kite him to avoid this attack.
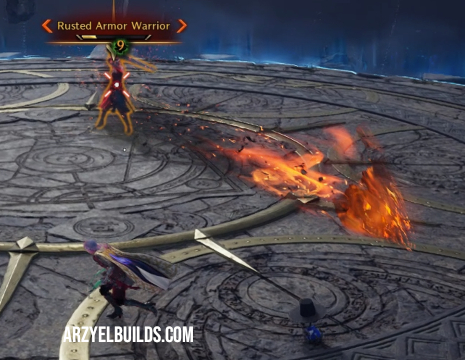
Floor 5 – Warrior’s Cry
Floor 5 unlocks at level 31. The main enemy here is the Rusted Armor Warrior. An easy Boss you can kite, since it relies on melee mostly attacks:
- The Boss follows you around and tries to melee attack you. Move around and kite.
- Fires a ground Fire AOE toward your location.
- Charges at you and does a weapon attack.
- Performs a spinning attack, that again is easy to kite.
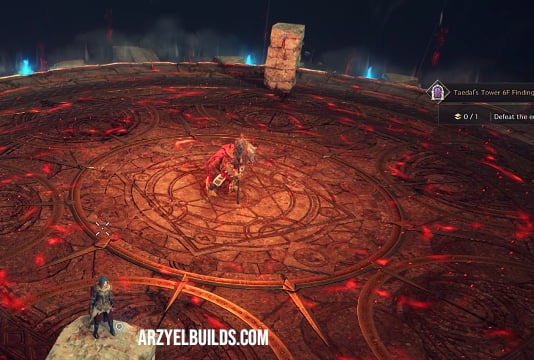
Floor 6 – Finding the Piton in the Flames
Floor six unlocks at level 35 and is the first floor that introduces environmental mechanics to Taedal’s Tower. Your main enemy here is the Mad Red Pyromancer, an Orc Mage with the following attacks:
- Fires projectiles at you.
- Does a stronger charged projectile attack that you need to block.
- Teleports away and performs the same charged attack.
- Summons fire ground AOE on your feet, that explode after a moment. Move around to avoid damage.
- Teleports to the center of the area and summons four pillars. He charges a wide area Fire AOE attack that will kill you. To avoid this AOE interact with the Piton on one of the pillars and climb up there. Wait for the AOE to disappear and attack him again.
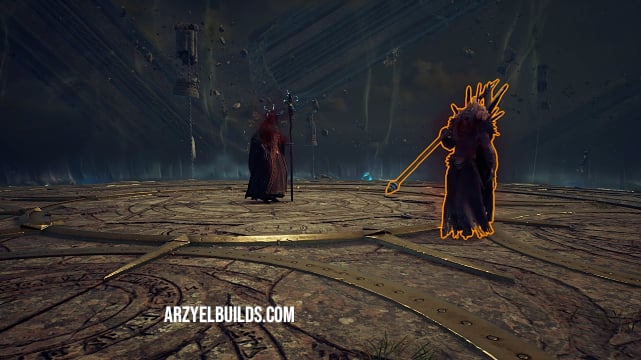
Floor 7 – The Bound
Floor seven unlocks at level 39. There are two enemies inside this Floor, a Bound Shadowmancer and a Despair Dark Enforcer. You only need to kill one of them to clear the floor. The Shadowmancer is a ranged enemy, while the Enforcer is a melee enemy that follows you around. These are their attacks:
- Shadowmancer fires projectiles as his basic attack at you.
- He charges an attack and fires a blue ray at your location. Easy to avoid or block.
- Places a ground AOE at your location, that deals damage.
- Teleports and does a wide AOE attack. Move out of his way to avoid damage.
- The Despair Dark Enforcer is a melee enemy, that follows you around and use his weapon to damage you.
- Performs a slash in front of him. Move fast out of the way to avoid damage.
- Charges an attack and fires lightning bolts in a straight line.
- Does a wide spin attack.
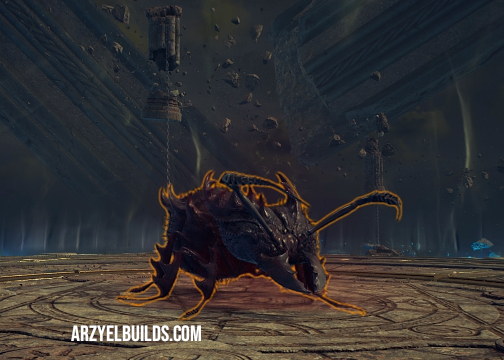
Floor 8 – Poisons, Explosions and Detox Herbs
This floor unlocks at level 43. The Giant Ant Commander only has a few mechanics you have to be careful of:
- Summons Poison Ants that get near you and explode. Try to kill them as fast as possible.
- Charges at you and deal damage.
- Does a wide Poison AOE that gradually damages you. Walk through one of the detox herbs that appear to remove poison stacks from you.
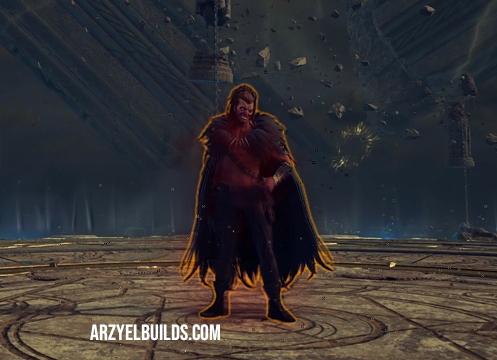
Floor 9 – Dance of the Flashing Sword
Floor 9 unlocks when you reach 47 level. Dancing Giant Butcher is the Boss of this floor and his main attacks consist of:
- Throws his daggers at you, as his basic attack.
- Does a charged projectile attack that hits harder.
- Charges at you and performs a charged attack, that slashes with both of his daggers.
- Fires his daggers multiple times with the last being a charged attack that deals massive damage. Make sure to block it.
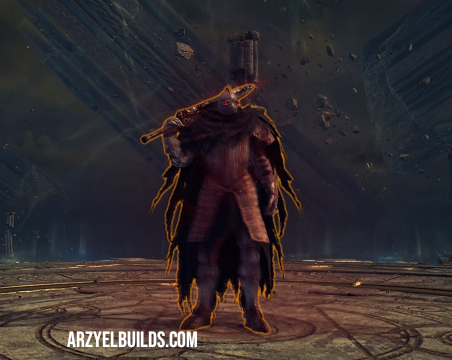
Floor 10 – Commander’s Shadow Strike
Floor 10 unlocks when you reach level 50 and is the first real challenge inside the Tower! The Oblivion Skeleton Commander is a fast melee attacker, that requires good reflexes to survive. Block his attacks fast to avoid damage and proceed.
- The Commander fires a projectile at you as his basic attack.
- Fires three ground lines in front of him that return back, dealing damage in both directions.
- Does a charged projectile attack that deals strong damage. Block it.
- Charges another attack, that makes him to rush forward and deal damage. Block or move out of his way.
- Performs a Jump Attack that deals wide area AOE damage. When he lands, the impact will knock you down and he will rush forward damaging you. When you see him jumping, jump as well to avoid the AOE.
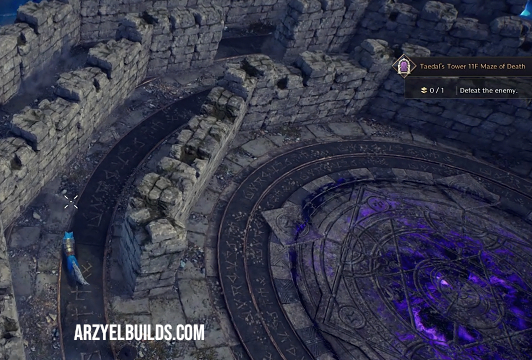
Floor 11 – Maze of Death
Floor 11 unlocks at level 50 and introduces a Maze in the tower! Roaring Avolos Umbramancer is the Boss of the Floor. These are his moves:
- Fires a Projectile as his basic attack.
- Summons ground AOEs in a line and lightning strikes there after a moment.
- Does a Fury attack that fires a ray in front of him.
- Pulls you at the center and raises a Maze around the area. A deadly AOE will start expanding from the center toward the edge of the area. Find the exit of the Maze fast, before the AOE reaches you and kills you.
- When the Maze disappears, several ground AOEs will explode around the area.
Floor 12 – Answers in the Sand
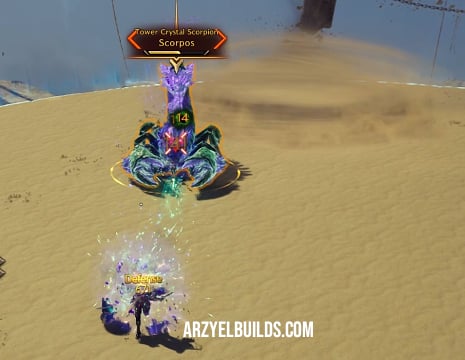
Floor 12 also unlocks at level 50 and takes you to the desert. There you will have to fight Scorpos, a giant Scorpion with a few nasty attacks. Before you can start the fight, attack and lure the Tower Explosive Scorpion at the center of the area. The Scorpion will explode and that will force Scorpo to come out. These are his attacks:
- Does a Fury projectile attack that deals strong damage. Block this attack.
- Burrows and emerges again in another location.
- Does a spin attack with his tail.
- Summons three smaller Scorpions and disappears. Lure the Scorpions to the right whirlwind to force the Scorpos out. There are trails of Sand moving around. Follow the trail with purple materials to find the right whirlwind. If you have chosen the right whirlwind, Scorpos will emerge stunned. If you fail to find the right whirlwind, Scorpos will emerge, stun you and probably kill you.
Floor 13 – Fall, Shock, Destroy!
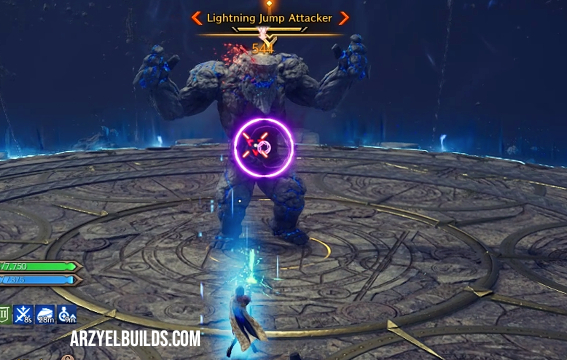
This floor unlocks at level 50. When you enter the floor you will see three floating rocks. Head from the red rock to the middle one, then the Blue rock on the other side to connect them. This will grant you a Damage Shield and summon the Lighting Jump Attacker, which is the Boss of the Floor. This enemy has a few nasty attacks:
- Jumps on the ground(Fury Attack), dealing AOE damage. Block to avoid damage.
- Slams the ground in front of him with his hand, dealing damage. Stay away.
- Slams the ground with his feet(Fury Attack) dealing massive AOE Damage. Block to avoid it.
- When his Health is low he will perform a massive jump attack. The rocks from before will appear and you have to connect them fast to get a shield before he lands and kill you. Lightning hits the ground and can stun you.
- He can also slam the ground hard with both of his hands, that deal massive AOE damage. Make sure to block this attack as well.
Floor 14 – Out of Sight
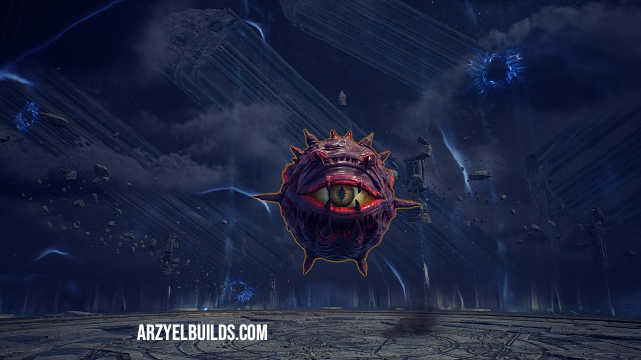
The Old Wizard’s Eye is the Boss of this Floor, that also unlocks at level 50. These are its attacks:
- Fires projectiles as its basic attack.
- Does a Fury Spin attack around it. Block this attack.
- Summons a ground AOE that deals damage.
- Slams on the ground, dealing AOE Damage. Jump to avoid it.
- Charges a wide AOE attack in front of it, that will one shot you. Move out of the AOE fast to survive.
Floor 15 – Thieves and Retrievers
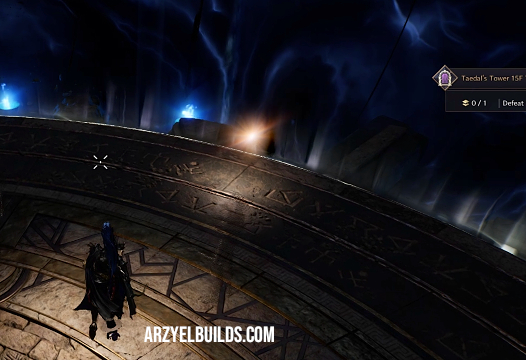
This Floor is slightly different from the other, since you will have to fight in a Guardian form! The floor unlocks at level 50 and your main enemy is Dren. This is what you have to do to survive:
- Dren performs basic melee attacks against you.
- Charges ranged and Melee Fury Attacks often that deal heavy damage and you have to block.
- Summons a Blood Wall that deals massive damage. Avoid it at all costs.
- When his health is low he will obscure the area and hide. You need to reach the light at the other side of the area but without the shades moving inside it touching you. If you fail to reach the light in time you will die. When you interact with the light Dren will appear stunned.
Floor 16 – Precise Moment
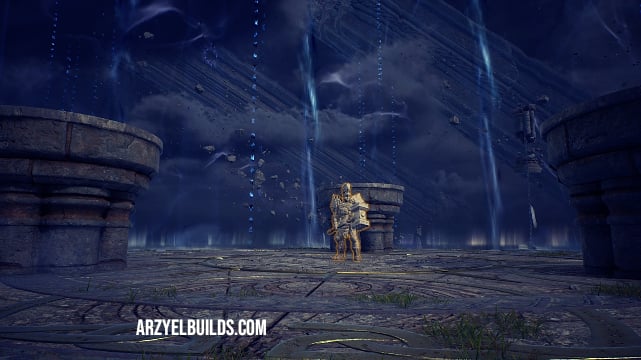
In floor 16 you will meet the Immortal Guardian and three pillars. This floor unlocks at level 50 and these are the Guardian’s main attacks:
- Deals a massive AOE Damage when he slams the ground with his weapon. Jump to avoid it.
- Does a harder slam(Fury Attack) that you can block.
- Summons a Fire AOE on the ground and jumps on one of the pillars. Do the same to avoid damage. Jump onto the same pillar with him to continue damaging him. Follow him around if he jumps away.
- While the Guardian is on the pillar he can continue his slam attacks but he can also heal himself.
Floor 17 – Unbreakable Shield of Cooperation
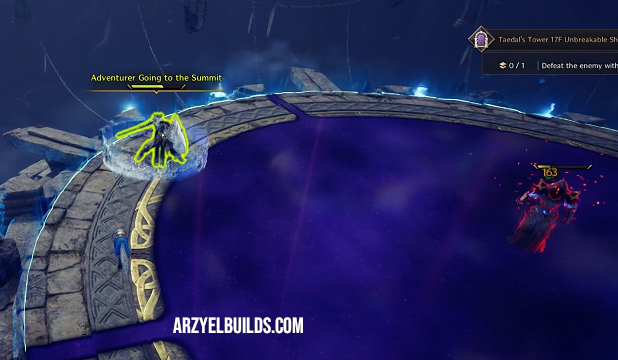
In floor 17, that also unlocks at level 50, you will work together with an “Adventurer Going to the Summit“, to defeat the Chaos Archwizard. The Archwizard performs the following attacks:
- Stand near the Adventurer to get protection from his Shield because when the Archzwizard appears, he will fire an AOE attack.
- Fires projectiles as his basic attack.
- He fires a massive blue flame attack in front of him. Later he will fire the same attack again but this time follows you around.
- He screams “Die” and performs a wide AOE attack. Get near the adventurer for protection.
- Charges a projectile attack that damages and stuns the Adventurer. This attack can kill the adventurer if it hits him a few times. Get between them and try to block the attack.
- Teleports you to the side of the area and the adventurer as far away as possible. You will have to run around and reach the adventurer in time. While you move around jump over the moving obstacles to avoid damage. He will also attack with his Blue Flame. Stand near the Adventurer to get protection from his shield and survive the incoming AOE.
Floor 18 – Swirling Firestorm
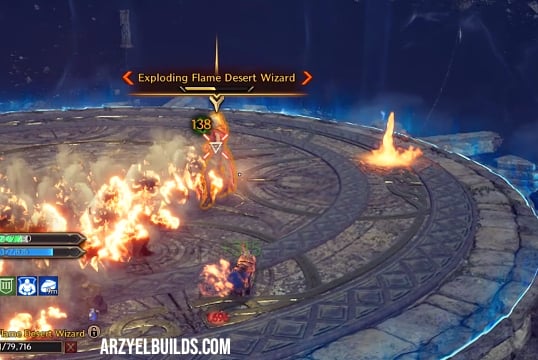
The Exploding Flame Desert Wizard is the Boss of the 18 floor, that unlocks at level 50 as well. These are her moves:
- Basic Fire projectile attack.
- Summons a fire mini tornado that moves around the area. If the tornado touches you, you will take damage.
- Performs a harder hitting Charged Projectile attack.
- She fires ground fire attacks in lines in front of her.
- She will teleport to the center of the area and charge a massive AOE attack that will kill you. To avoid it, touch the Tornado moving around. The Tornado will catapult you in the air, where you can morph and slowly descend after she fires her AOE.
Floor 19 – Reaching Higher
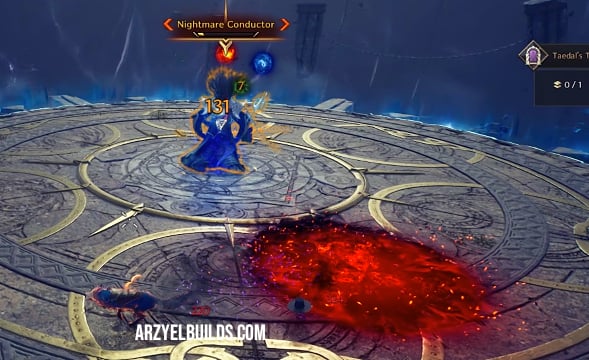
At floor 19(unlocks at level 50) you will fight the Nightmare Conductor. These are his attacks:
- Fires a projectile as his basic attack.
- Charges and fires a deadlier projectile that you can block.
- Summons three Orbs above him, one Blue and two Red. He charges a fury attack and will fire the Blue Orb at you. Block this or it will stun you. Then he fires his Red Orbs that leave a deadly fire ground AOE and will kill you if you do not move away fast.
- Performs another Fury attack that deals massive AOE damage around him. Just keep your distance or block to avoid it.
- He will summon three Orbs again, only this time he will attack with the Red Orbs first, then try to stun you with the Blue one. After the Orbs performs a Charged AOE attack that deals massive damage. Avoid the Red Orbs AOEs, Block the Blue Orb and Block the incoming AOE after.
- When his Health is low, he will teleport you to the edge of the area and summon a few floating discs. Jump on the Discs and try to reach the highest as fast as possible. The Boss charges a massive attack that will kill you, unless you make it in time to the top Disc.
Floor 20 – Revenge and Resurrection
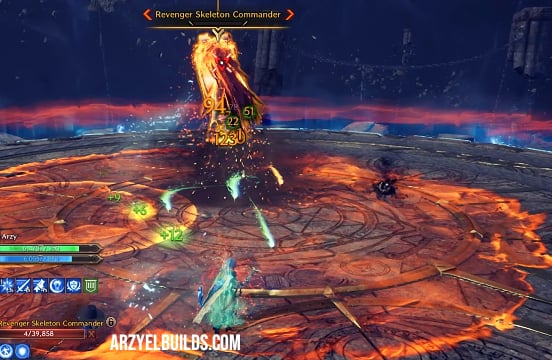
The Revenger Skeleton Commander is the Final Boss of the Tower and a tough enemy that you will have to fight twice! This Floor is also available only to level 50 Characters. These are the Commander’s main attacks:
- The Boss rushes fast to you and tries to hit you with melee attacks. Despite his size is a fast and agile enemy, so kiting is not as easy as before.
- He summons Skeletons to assist him against you. They are easy to kill, so try to focus them down fast.
- He does a Fury Attack that unleashes a wide AOE around the area. Block this attack.
- Spawns ground Fire AOEs that deal great damage. Move out of them fast.
- He Jumps and slams the ground with his Weapon, dealing AOE damage. Jump to avoid this one.
- When you drop his Health to zero for the first time, he will regenerate back to full Health and the fight starts again. Kill him another time to clear the floor and the Tower!
Taedal’s Tower Rewards in Throne and Liberty
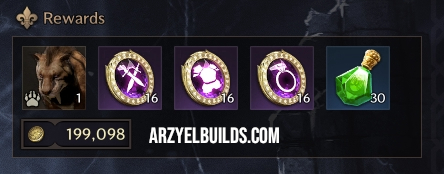
The Tower is basically a practice area where you can become familiar with a variety of Boss mechanics. It does however offer a few valuable rewards, when you clear each floor. The Rewards you can get from Taedal’s Tower are:
- Sollant
- Growthstones to Upgrade your Gear
- Consumables
- Amitoi
The quality of the Consumables and Growthstones depends on the Floor you are clearing. The higher the Floor, the better your rewards.

Arzyel is a passionate Gamer and huge fan of the Elder Scrolls Series! A professional Content Creator and owner of the arzyelbuilds.com website that is focusing on The Elder Scrolls Online with the Best ESO Builds and Guides, as well as Soulframe and Throne and Liberty content with several Builds and Guides! Arzyel also publishes videos on his YouTube channel and streams on Twitch!
Thanks to his experience in Gaming and especially Online Gaming, Arzyel can create practical and effective Builds & Guides for ESO, Soulframe, Throne and Liberty and other titles, that are perfect for both New and Veteran Players! For more info you can check his Linktree and his About Me page.